
Tiles are great choices for flooring — they’re durable, aesthetic, and long-lasting. But just like other parts of your home, those shiny tiles lose their lustre with everyday dirt and use.
Cleaning your floors is a straightforward process. But if you want to get tiles to shine again, you’ll need to polish them, too!
It’s important to know how to polish tiles so you don’t damage your floors. Always choose a tile polish that’s compatible with your tile type — for example, ceramic tiles will need a different product from wood ones.
Apply the product with a microfibre mop or cloth, and let it dry completely before anyone walks on the floor.
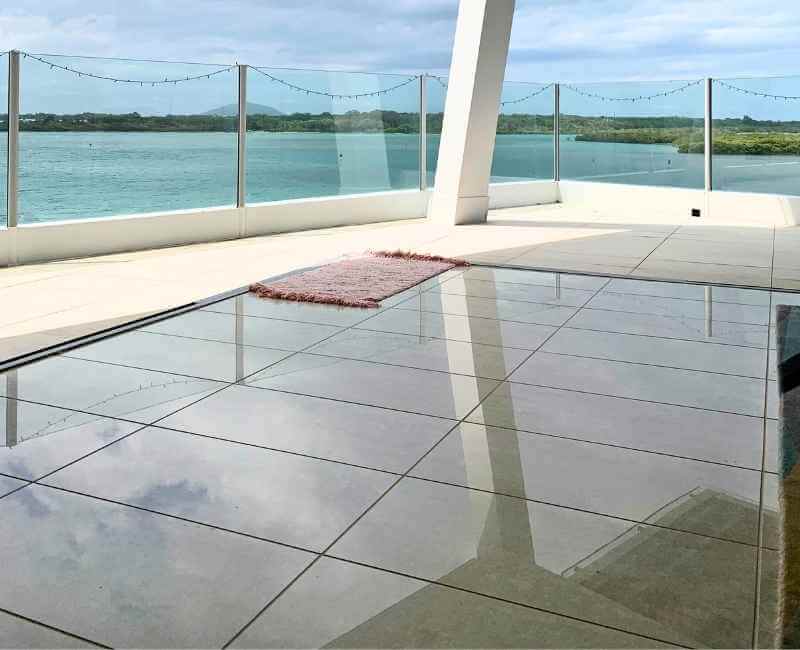
Gleaming tiles instantly brighten up any room. So it’s tile to say goodbye to dull floors (get it?) to keep your home looking its best.
How Often to Polish | Before Polishing | Ceramic Tiles | Faux-Wood Tiles | Glass Tiles | Marble Tiles | Porcelain Tiles | Stone Tiles | Wood Tiles
Is Polishing Tiles Different from Buffing?
Yes! “Buffing” and “polishing” often get used interchangeably, but they’re two different things.
Buffing usually refers to using a cloth or buffer pad to smooth out imperfections and remove dirt from a tiled surface.
There are also spray-on solutions that you can use with buffing machines.
On the other hand, polishing involves using a product to make your tiles glossy after cleaning. It restores the shine to tile floors and leaves a protective layer.
When cleaning, you should buff the floor before polishing. Think of it as skincare — buffing is like exfoliating, then polishing is like moisturiser.
You won’t always need to do both, though! A good-quality tile polish should last a while.
How Often Do I Need to Polish Tile Floors?
With a good tile floor cleaning routine, you can polish your tile floors every 2–4 months.
Floors in high-traffic areas (such as kitchens and dining rooms) may need polishing more frequently.
Keep in mind — regularly vacuuming and mopping the floors will help keep them clean and shiny for longer! And hey, feel free to leave your tile floor maintenance up to a Maid2Match cleaning expert.
Before Polishing Tile Floors
When it comes to tile polishing, you must use the correct tools and polishing solutions!
Using the wrong product can damage your tiles, whether that’s by dulling the appearance or scratching the material. If you’re unsure, test the product on a small, inconspicuous spot first.
You’ll also need to prepare the tiles first by removing dirt and debris.
What to use for polishing tile floors
Gather your cleaning supplies before you start so they’re all on hand. Choose an appropriate tile polishing solution for your floor type:
- Ceramic or porcelain tiles: White vinegar or commercial polish
- Faux wood tiles: Tile and laminate polish
- Glass tiles: Vinegar or commercial polish
- Marble tiles: Marble polisher or buffing cloth
- Stone tiles: Stone polish
- Wood tiles: Wood floor polish
If you’re using a commercial polish, remember to measure your floors beforehand so you get enough product! Check the package to see how many square metres (or square feet) one product covers.
Besides your polishing solution, you’ll need cleaning equipment, including:
- Buffing pads
- Flat microfibre mop
- Clean microfibre cloths
What to avoid when polishing tiles
Avoid too-abrasive cleaners (such as steel wool) when polishing, as you may leave scuffs or scratches on the tiled surfaces. For polishing powders, use ones that are compatible with your floor type.
Do not use acidic or acid-based products on wood and natural stone tiles. Acids etch these surfaces, dulling their appearance.
If there’s too much damage, you’ll likely need to get your floors professionally refinished.
Preparing to polish tile floors
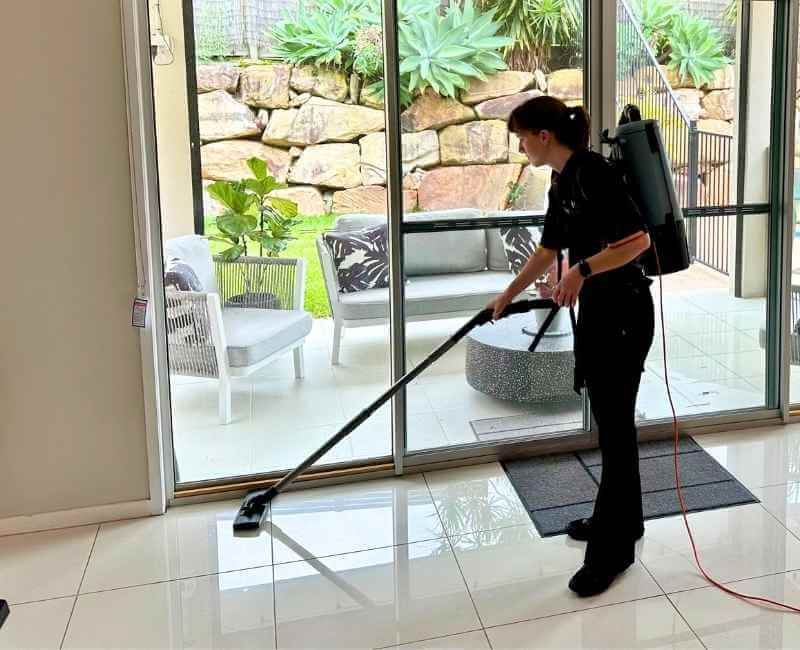
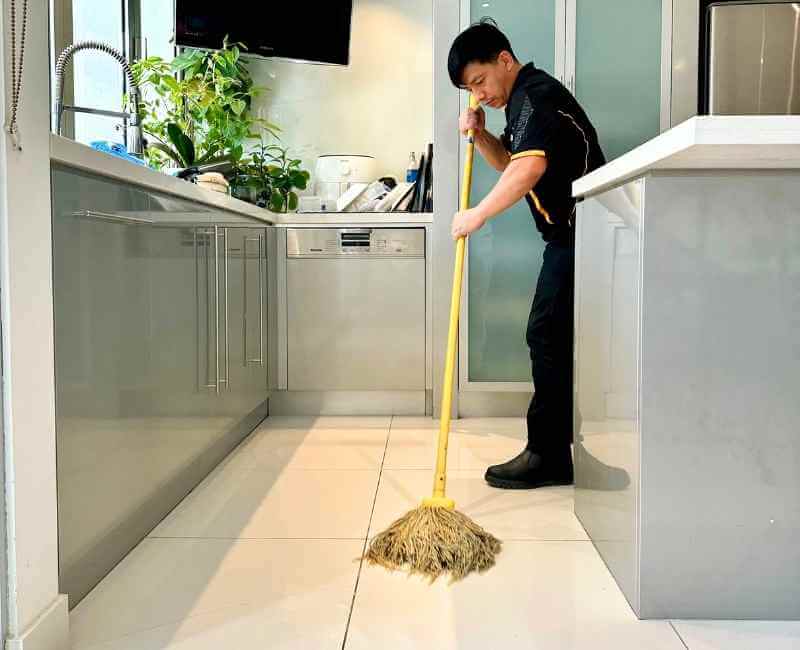
Before you polish your tiles, you’ll need to sweep or vacuum and mop first!
Cleaning the tiles ensures a gleaming and streak-free shine. Otherwise, you’ll be spreading dirt around and creating an untidy look.
Start by moving large furniture out of the way so you can access the entire floor. Keep in mind that depending on what polish you use, you may need to wait up to a day to put your furniture back.
Use a soft broom, dust mop, or vacuum cleaner to remove loose dirt and debris from the tile floors. Then mop your floors with an appropriate cleaning solution.
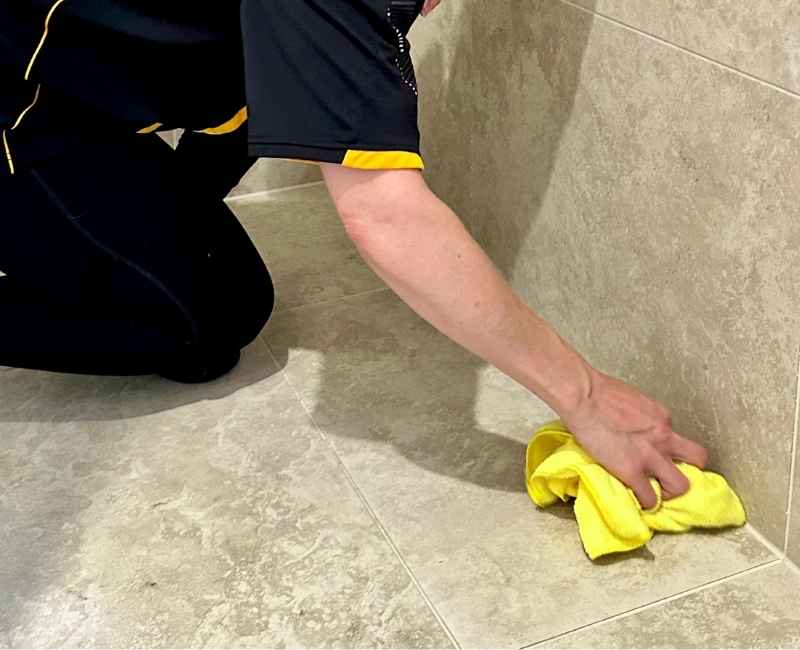
Don’t forget to clean the grout lines as well! Dirty tile grout can make even the shiniest of tiles look grimy.
Thoroughly dry the tiles afterwards so the moisture doesn’t interfere with the polishing product.
How to Polish Different Tile Types
Different tile materials need different methods for polishing!
No matter what type of polish you use, though, be careful not to apply too much to the surface. Any leftover residue could build up, attracting dirt or making the floor slippery.
How to polish ceramic tiles
Ceramic tiles are both durable and easy to clean, and they look great in any room.
They’re similar to porcelain, but are less dense, absorb more water, and often have a different finish.
Keeping your ceramic tiles polished and gleaming goes a long way to enhancing the appearance of your room!
If you’re using a commercial product to polish ceramic tiles, follow the package instructions carefully. Otherwise, make a homemade polishing solution of one part white vinegar to three parts water.
Start in one corner of the room and work your way towards the exit. Spray the polishing solution onto the tile, then use a soft cloth or buffing pad to buff the surface with firm circular motions.
Rinse off any residue with another damp cloth or microfibre mop, then thoroughly dry the floor.
How to polish faux-wood tiles
Faux-wood (or wood-like) tiles give you the look of a wood floor, but with different materials. They’re typically made of ceramic or porcelain, with a wood-printed finish.
This type of tile needs more gentle cleaning and periodic polishing to maintain that lustre. But since they’re not real wood, you shouldn’t use wood polish!
Instead, opt for a tile and laminate polish that provides shine without making the floor slippery.
After removing surface dust and damp-mopping the floors, get your floor polish. Follow the product instructions carefully — you’ll usually apply a small amount to the tile with a soft cloth or mop.
Work in small sections, applying the polish in a thin, even layer. Afterwards, allow the polish to dry completely before allowing foot traffic.
Always refer to the instructions, as some products require a specific drying period before the floor can be walked on.
How to polish glass tiles
Glass tiles offer a unique, modern touch to spaces, but can easily show scuffs and scratches. You’ll need to be careful when cleaning and polishing them!
After you’ve washed the tiles, mix equal parts white vinegar and warm water in a spray bottle. This DIY cleaning solution can leave glass tiles shiny with a streak-free finish.
Starting from one corner of the room, apply the mixture to the glass and let it sit for a few seconds. Firmly buff the surface with a microfibre cloth or mop, then rinse with a cloth dampened in clean water.
Dry the glass tiles afterwards to prevent water spots and streaks.
How to polish marble tiles
Marble tiles exude luxury, but they’re more delicate than other materials and require particular care. When maintaining marble, use commercial cleaners and polishes that are formulated for natural stone.
Using a marble-specific polish also ensures you don’t damage the marble or turn it into a slipping hazard.
After cleaning marble tiles with a pH-neutral solution, carefully apply your marble polish according to the package instructions. Do not apply too much, and make sure you let it dry completely.
If you prefer not to use a commercial product, you can just use a dry microfibre or chamois cloth to buff the marble after cleaning!
How to polish porcelain tiles
Polished porcelain tiles can make any room look classy.
There are different types of porcelain, usually based on their finish, such as glazed, textured, and unpolished.
They need similar cleaning solutions, though textured tile will need extra scrubbing to get all those grooves and edges.
After cleaning and drying your porcelain tile floors, apply your commercial polish to the surface. Follow the instructions and firmly buff the tile with a microfibre mop or cloth.
Alternatively, use the same homemade polish as ceramic tiles. Don’t forget to dry the tile floor afterwards.
How to polish stone tiles
Granite and slate are among the most popular choices for stone tiles, but you can also have limestone or travertine.
Always use a dedicated stone polish for natural stone, as other products may scuff or etch the material.
Clean the stone tiles with a dedicated pH-neutral cleaner, then thoroughly dry the surface. If there are stains, buff them out with a thin paste of baking soda and warm water.
Rinse off any residue and dry the tiles before you start polishing.
Follow the product instructions on the stone polish, and only apply as much as necessary! Buff the stone with gentle but firm strokes.
How to polish wood tiles
Wood floors need specialised maintenance, as excess moisture can seep through and cause warping or mould.
When cleaning wood floors, use a lightly damp mop and minimal moisture. For polishing, look for a wood floor polish that suits your specific type of wood and finish.
Check first to make sure the floor is clean and dry. Then, apply a small amount of wood polish onto the floor, following the package instructions — generally, you can pour it in an S-pattern.
Using a clean, flat microfibre mop, smooth the solution over the floor in the direction of the wood grain. Work in small areas so you can control the amount of pressure applied and the polish you use.
Once you’ve polished the whole floor, allow the product to dry per the guidelines.
Tips for Maintaining Your Tiles
Besides polishing your tiles to a shine, it’s important to follow proper maintenance so they look good for longer — and last longer, too!
Wash tiles after installation
For newly-installed tiles, you’ll want to remove the grout haze before doing any buffing or polishing.
Cleaning new tiles after installation is an important step in maintaining a pristine and shiny floor, especially since grout residue can smudge or scuff tiles.
Clean tiles regularly
Regular cleaning — especially sweeping and mopping — goes a long way to maintaining a tile floor.
Use a soft broom, dust mop, or vacuum 1–2 times a week, and mop the floors weekly. This helps prolong the shine and prevents dirt from dulling the tiles.
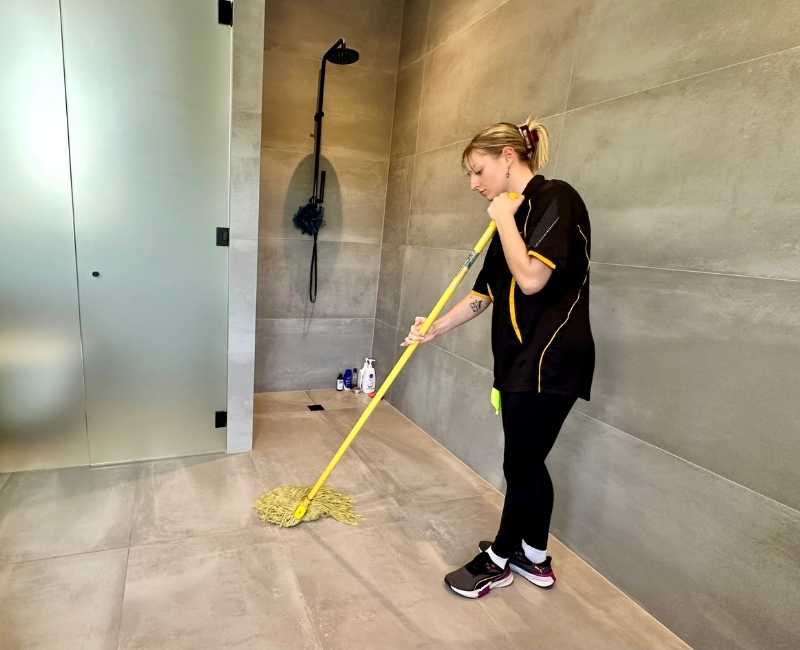
Deep clean shower tiles once a week as well.
Use preventative measures
Taking steps to lessen the amount of dirt that gets onto your tile floors helps keep them glossy for longer.
Place door mats at the entrances so people can brush off their shoes before entering your home. You can also keep a shoe shelf or cabinet and provide house slippers!
To prevent scuffing, place felt or rubber pads under heavy furniture.
Then, tackle spills and messes right away. The longer a stain sits on your tiles, the harder it becomes to remove, especially for porous materials like stone.
Remember, less dirt on your floors means it’s easier to clean your tiles — and polish them, too.