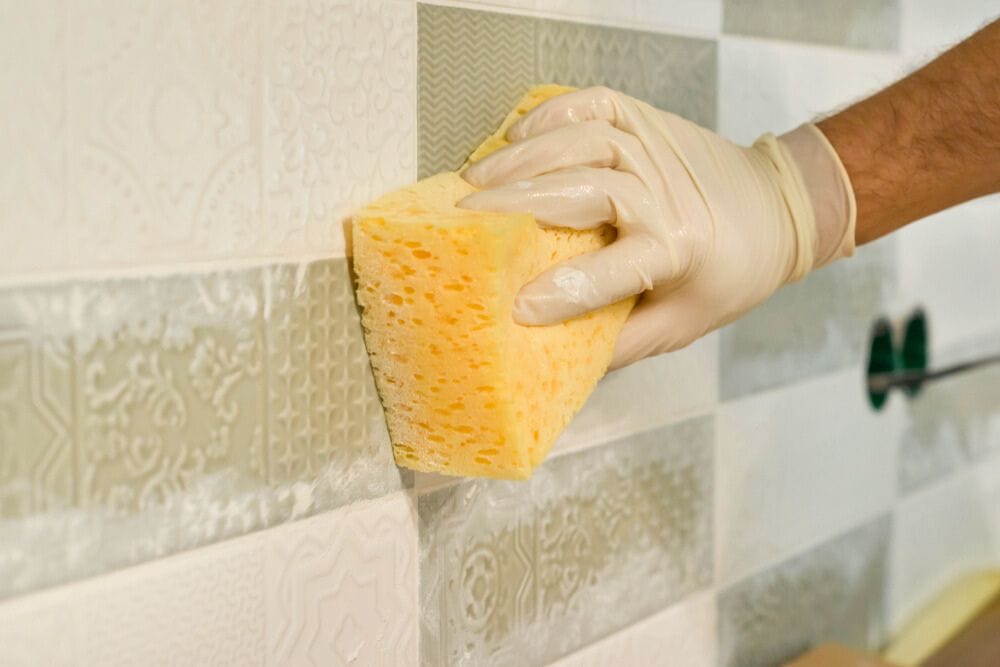
Have you just had the flooring installed in a new home? Or maybe you’ve had your shower walls regrouted. While it might feel satisfying to look at all the clean, new tiling, there may be some haziness on the surface.
That’s grout haze – the residue left behind after the process of grouting.
The best way to remove grout haze is by using a grout haze remover! You can purchase one specifically for the type of grout and tile material used, or simply mix up some white vinegar and water. Then it’s simple enough to wipe the grout haze away.
Don’t leave it too late to clean off the grout haze from tile floors or walls. Here’s how to tackle grout haze removal.
What is Grout Haze?
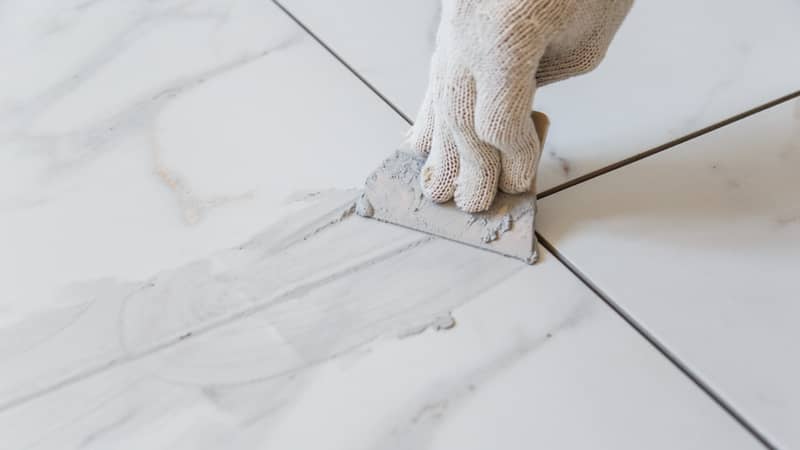
Grout haze is the chalky residue left behind after tile grouting. The process of applying grout involves mixing cement and minerals with water, then spreading that mixture over tiles so it fills the lines in between them.
After the water evaporates, the minerals and some cement are left on the tile surface in a light haze. It can look like smears and streaks, glossy patches, or white powder on the surface.
Once the grout has set and been sealed, you can begin cleaning the tile surface.
To clean the excess grout off of tiles, you just need water and a wet sponge or mop. But it’s trickier to clean grout haze, since it won’t come off with plain water.
You’ll need a specific type of grout haze cleaner based on the type of grout involved.
Sometimes tiles come with a “grout releaser,” which is a thin film that protects the tiles from haze and residue. After grouting, simply lift the film and clean the newly installed tiles.
Types of Grout
Many tiles use sanded grout, which is cement-based. This is the most affordable type, but it requires regular resealing and is prone to stains.
Installations using smaller tiles may use unsanded grout, which is also cement-based but does not contain sand particles for binding.
More expensive options include acrylic grout and epoxy grout, which are stain-resistant and do not require sealing. However, acrylic is not recommended for filling grout joints over 1.2cm (0.5in) wide.
What is in Grout Haze Remover?
It’s essential that you not confuse grout haze remover with grout sealer or grout cleaner. Those have very different purposes and won’t clean grout haze!
The grout haze remover will have different formulations depending on the type of grout. For example, sanded and unsanded grout will need a cement grout haze remover.
The best grout haze remover will also depend on the tile material – a product for porcelain and ceramic might not work for natural stone tile.
Most grout haze removal products will contain certain amounts of water, surfactants, chelating agents, and pH adjusters.
If you want a more natural cleaning solution, mix white vinegar and warm water. The acidic properties can also clean grout haze – although it’ll take more elbow grease.
How Long to Wait to Wipe off Grout Haze
You will need to wait for the grout to cure before cleaning the haze off the tiles. If not, you could damage the grout through chipping or water seepage.
It takes around 24–48 hours for grout to cure (check the packaging or the installation team).
Don’t wait too long, though – you should clean grout haze within 10 days of grouting.
How to Remove Grout Haze from Tiles
Always begin by sweeping or vacuuming the tiles! This will prevent any grit or dirt from scuffing or scratching the surface.
For cleaning grout haze, you’ll need:
- A mop
- Latex gloves
- Buckets
- White nylon brush (or similar soft-bristled grout brush)
- Sponges
- Grout haze remover
Follow the manufacturer’s directions when mixing your grout haze remover.
Removing grout haze from tile floors
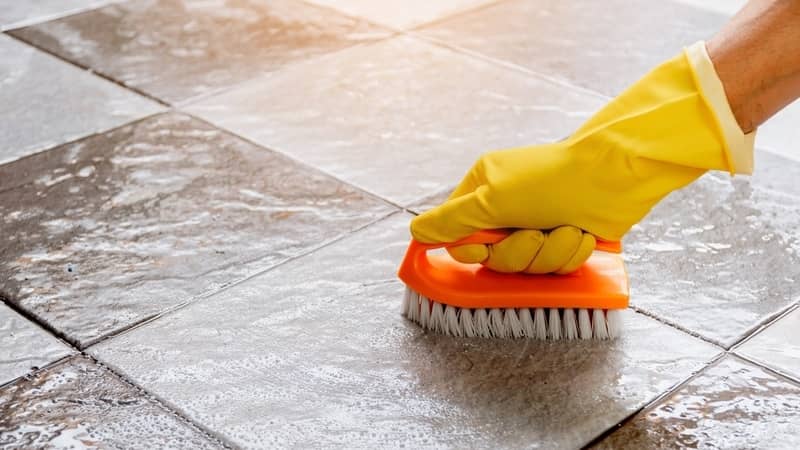
Put on your protective equipment before working, and ensure the room is well-ventilated.
Mix your grout haze remover in one bucket – either at standard dilution for a light haze, or at full strength for heavier residue. Make sure you’re using the correct product for ceramic, porcelain, or natural stone tiles.
Fill a second bucket with clean water for rinsing the tile surface.
Begin by wet-mopping the tiles to dampen them.
Dip your white nylon brush into the cleaning solution. Lightly scrub the tile surface, working in small sections.
Once you’ve applied the grout haze remover, take a damp sponge. Wipe away the grout haze using a single stroke.
Do not scrub in circles, as this will push the haze around instead of removing it.
Rinse the sponge in clean water regularly to prevent build-up, and change out your rinse water when it becomes dirty.
Scrub and rinse each section until the remaining grout haze is completely removed.
Let the surface air dry.
Removing grout haze from tile walls
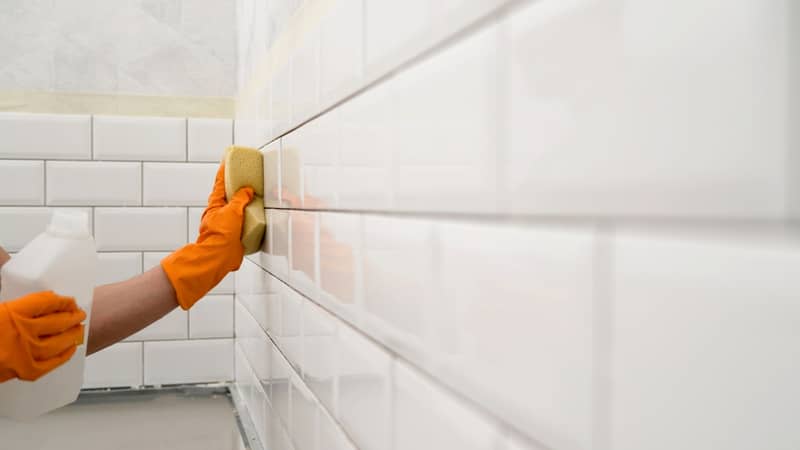
For vertical surfaces such as tile walls, cleaning the grout haze is a bit tricker.
Again, mix your grout haze remover at your desired dilution. You can then apply it to the walls using the damp sponge, or fill a spray bottle with the mixture and saturate the tiles before wiping.
Wipe using single strokes in one direction. Rinse the sponge regularly and change the water when it gets dirty.
Keep working one section at a time until you’ve removed all the grout haze.
Afterwards, you can rinse the wall with a handheld sprayer or pressure washer on the lightest setting.
Let the walls fully air dry.
How to Remove Grout Haze from Tile Naturally
If you don’t want to use commercial products or make a trip to the local hardware store, you can make your own grout haze remover.
Vinegar and water will clean up grout haze just fine!
Mix 3 parts white vinegar with 1 part water. For tile floors, fill a bucket with this cleaning solution. For walls, fill a spray bottle.
Keep a separate bucket of clean water for rinsing.
Use a non-abrasive sponge or scrubber to apply the solution to the tiles. For spray bottles, saturate the tile surface then wipe off the grout haze.
Always use a single stroke in one direction when wiping; otherwise, you’ll just deposit the haze back onto the tiles.
Rinse the grout haze off with water.
Can You Remove Grout Haze Without a Cleaner?
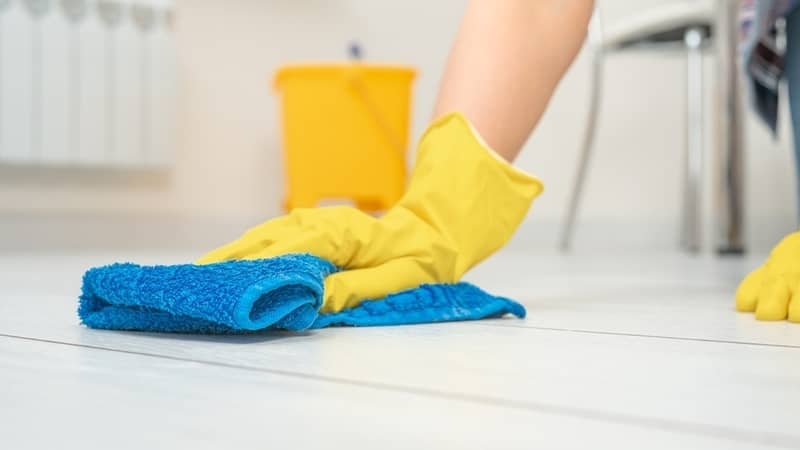
If the residue is light, you can try cleaning the haze without using a cleaning product.
Take a damp terry towel or terry cloth and wipe the haze off the tiles. You can also try using a damp cheesecloth.
However, if this easy solution doesn’t get rid of the grout haze, you’ll need to switch to a grout haze cleaner.
How to Prevent Grout Haze on a Tile Surface
If you’re installing new tiles or regrouting existing ones, there are ways to prevent or minimise the grout haze left behind.
- Use a rubber grout float to remove grout from tile while working
- Wipe newly installed tiles with a damp tiling sponge
- Vacuum any white powder left on a tile floor or wall after grouting
- Check if your tiles can come with grout release film
Maintain Your Tiles Even After Installation
Remember to clean your tiles and grout regularly. Ideally, vacuum or sweep every day and wet mop once a week – or just get some of Australia’s expert house cleaners to tackle that for you.
Pay extra attention to shower tiles, where soap scum, limescale, and other grime can build up. The same goes for kitchen tiles, which are exposed to grease, smoke, and other food debris.
Do not use grout haze remover to clean grout, since they’re different products!
And of course, check on your floors or walls even after you’ve wiped away the grout haze. You may have to clean more than once – and while that might make you feel grout-chy (get it?), your tiling will thank you in the long run.

