
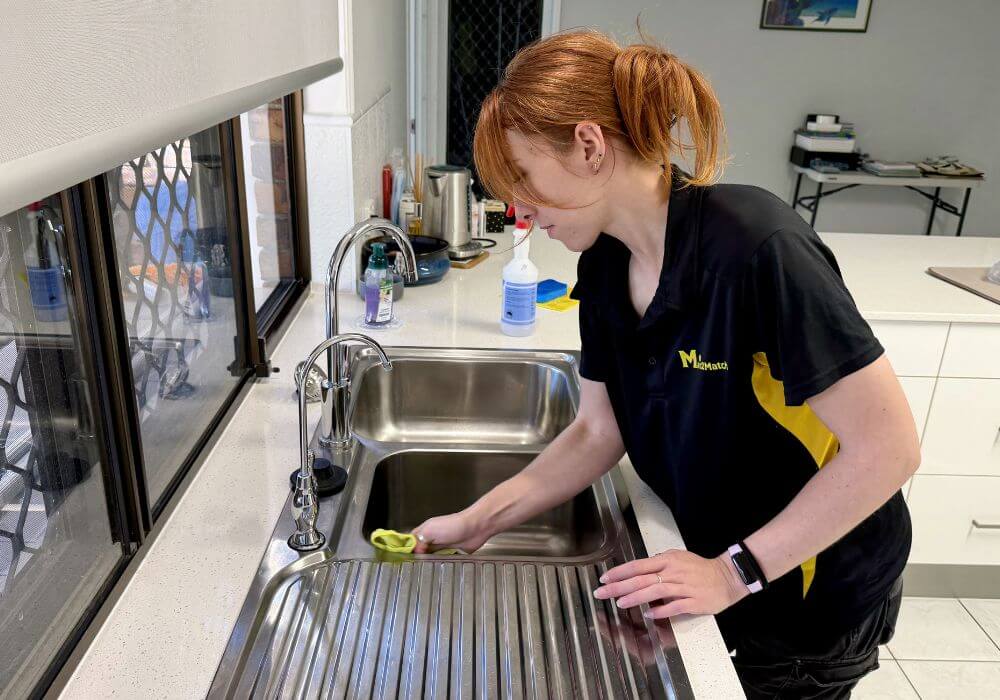
Your kitchen sink is one of the hardest-working surfaces in your home, which means it’s also one of the grimiest.
Sinks see raw ingredients, dirty dishes, grease, and food particles every day, making them a magnet for stains and odours.
For routine maintenance, the best way to clean a kitchen sink is with warm water and mild dish soap. When it’s time for a deeper clean, though, the right approach depends on the sink material.
You can use baking soda on stainless steel, ceramic, and fireclay sinks. However, other surfaces require different methods.
No matter what type of sink you have, we’ll tell you how to get it sparkling again — from the basin, to the tapware, to the drain!
Stainless Steel | Granite or Quartz Composite | Fireclay or Ceramic | Cast Iron | Acrylic | Copper | Cleaning the Tap | Cleaning the Drain | Disinfecting the Sink | Removing Stains
How Often Should You Clean a Kitchen Sink?
To make things efficient, cleaning the sink and drain should be part of your weekly kitchen maintenance routine.
Here’s a schedule you can follow:
| WHEN TO CLEAN | WHAT TO DO |
| Immediately | Spot clean stains before they set. |
| After handling raw ingredients | Disinfect the surface, especially if you placed raw meat, chicken, or fish on it. |
| Daily | Give the sink a quick wash at the end of each day once you’re done using it. |
| Weekly | Deep clean the sink and the drain. |
Short on time? Professional home cleaners can take the whole job off your plate!
Before Cleaning Your Kitchen Sink
Different sink materials require different cleaning methods.
Knowing what product to reach for and what to avoid helps you avoid damaging the surface.
What’s the best thing to clean a kitchen sink with?
For everyday cleaning, a mix of warm water and a few drops of dishwashing liquid works wonders.
Dish soap is gentle and safe on every sink material. Plus, it cuts through oily residue and grime from cooking and washing dishes.
You’ll also need a soft sponge or a microfibre cloth for scrubbing, and an old toothbrush for crevices.
For a deeper clean, the best kitchen sink cleaner depends on the material:
| KITCHEN SINK MATERIAL | RECOMMENDED CLEANER |
| Stainless steel | Baking soda + dish soap |
| Granite or quartz composite | Warm, soapy water or a specialised cleaner |
| Ceramic, fireclay, or porcelain | Baking soda + dish soap |
| Enamelled cast iron | Baking soda + dish soap |
| Acrylic | Warm, soapy water |
| Copper | Warm, soapy water or a specialised cleaner |
If you’re not sure what your sink is made of, look up the brand online or check the manufacturer’s care guide. You can also see whether they recommend any specific cleaning products.
Whatever you choose, always double-check that it’s suited to your sink by trying it on a small area. If you’re using a commercial cleaner, follow the directions on the label to avoid damaging the finish.
What should you avoid when cleaning a kitchen sink?
Avoid harsh chemicals and cleaning solutions that can damage the kitchen sink’s finish, such as:
- Ammonia
- Undiluted vinegar
- Heavy-duty drain cleaners
- Hydrochloric or muriatic acid
- Bleach (or bleach-based cleaners)
Also, do not mix products! Combining certain cleaners, like bleach plus vinegar, releases toxic fumes. To be safe, always rinse the surface thoroughly before trying another cleaner.
And remember: never use steel wool or other abrasive scrubbers that can cause scratches.
Preparing to clean a kitchen sink
Once you’ve got the right product, take a moment to prepare for cleaning.
Start by clearing the sink. Take out any dishes and cutlery, then remove loose debris or large food scraps so they don’t clog the drain.
Rinse the basin with warm water to wash away any remaining crumbs. Leave the surface damp — you want it wet when you scrub.
Pop on a pair of rubber gloves and make sure the room is well-ventilated, especially if you’re using anything stronger than dish soap.
How to Deep Clean a Kitchen Sink

No matter what type of sink you have, the cleaning process is largely the same.
Always scrub the surface gently. Once you’re done, rinse off all residue from the cleaner and dry the basin with a paper towel or a lint-free cloth to avoid water spots.
How to clean a stainless steel kitchen sink
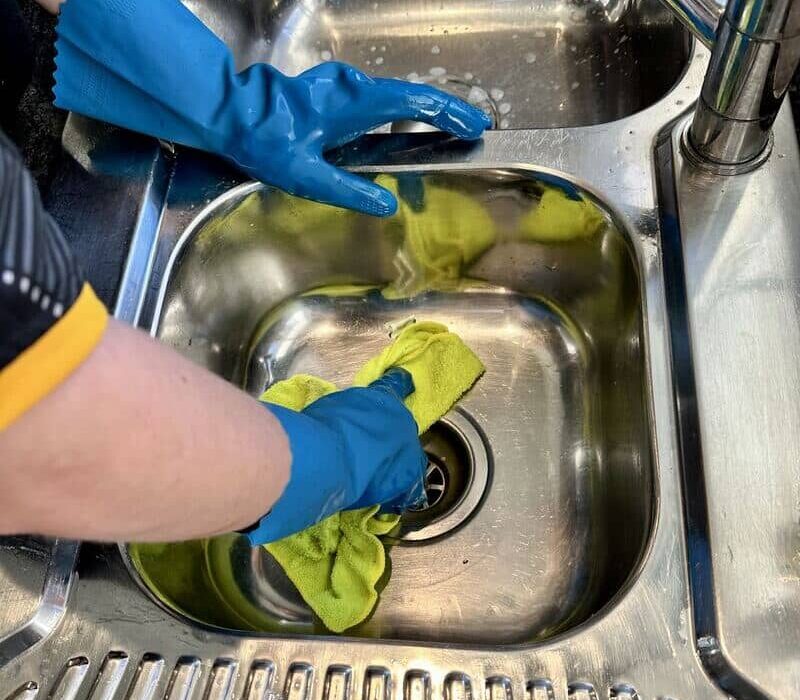
| What to use | Baking soda + dish soap OR 1:3 vinegar and water |
Stainless steel is one of the best materials for kitchen sinks. It’s hygienic, hard-wearing, and rust-resistant! However, it tends to show all kinds of stains and marks like water spots and scratches.
The best thing to clean a stainless steel sink with is baking soda and dish soap.
Sprinkle baking soda over the damp surface. No need to cover the whole basin since too much could clump in the drain when washed off.
Add a few drops of dish soap directly to the sink for extra grease-fighting power.
If you’re using diluted vinegar, make sure to leave it for 3–5 minutes only to keep the acid from etching the surface.
Gently scrub the entire sink surface with a damp cloth or sponge. Always wipe with the grain — going across the lines can push debris into the grooves and cause streaks as you wipe.
How to clean a granite or quartz composite kitchen sink
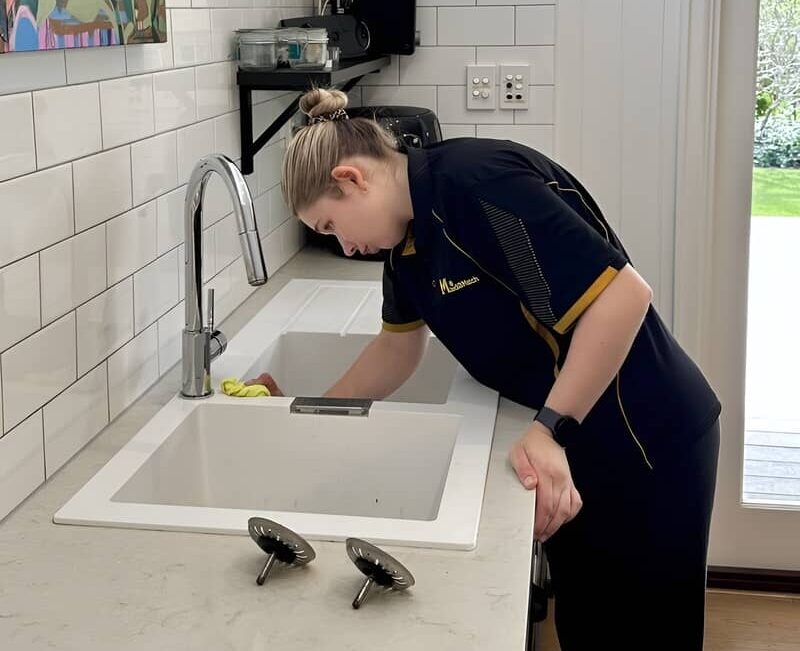
| What to use | Warm, soapy water OR a dedicated cleaner |
Granite composite and quartz composite sinks are both types of engineered stone.
They’re usually made of roughly 80% crushed granite or quartz and 20% acrylic resin. That resin is tough but semi-porous.
Coffee, tea, or wine can soak in if left too long. That means you need to wipe up spills promptly to avoid permanent stains, especially with white or light-coloured sinks.
For deep cleaning, mix warm water and a few drops of dish soap in a spray bottle. Spritz a generous amount onto the surface, then scrub with a non-abrasive pad.
If you’re using a specialised cleaner for granite or quartz, always read and follow the directions on the bottle.
About once a month, you can buff the sink with cooking oil (like olive or coconut) or food-safe mineral oil.
Put a few drops on a dry microfibre cloth, then wipe the surface. This helps hide micro-scratches and restore the sink’s appearance and colour.
How to clean a fireclay or ceramic kitchen sink
| What to use | Baking soda + dish soap OR a gentle cream cleanser |
Ceramic kitchen sinks — specifically fine fireclay — are a favourite in farmhouses and Hamptons homes. They’re finished with a protective glaze that makes them waterproof and stain-resistant.
That coating is durable, but it doesn’t hold up well to harsh scrubbers, gritty abrasives, or strong acids. Plus, once damaged, fireclay sinks can start holding onto stains.
Keep in mind that fireclay is prone to grey marks. These usually aren’t scratches but tiny metal deposits left behind by pots, pans, and cutlery.
To clean your sink with baking soda, dust the powder over the damp surface and add a few drops of dish soap. Wipe gently with a soft sponge to lift the grime.
Prefer to use a ready-made, cream cleanser? Check first if it’s safe for ceramic and follow the instructions on the label.
NOTE: Porcelain kitchen sinks can be cleaned the same way, since they have a similar glazed finish.
How to clean a cast iron kitchen sink
| What to use | Baking soda + dish soap OR a gentle cream cleanser |
A cast iron sink is often enamelled, which means it has a porcelain-enamel coating. Since the surface you’re cleaning is the enamel, you can treat it like a ceramic or porcelain sink.
Sprinkle some baking soda over the sink, add a small amount of dish soap, then work away any stains with a gentle sponge or cloth.
Keep in mind that cast iron sinks can chip along the rim or corners if something heavy is dropped on them.
Because there’s iron underneath, any exposed areas can rust. You can prevent this by drying the sink after use and keeping an eye out for any chips. It’s also best to have a professional repair any damage ASAP!
How to clean an acrylic kitchen sink
| What to use | Warm, soapy water OR a gentle cream cleanser |
Acrylic kitchen sinks are easy to clean because they’re non-porous, so bacteria and stains can’t penetrate the material.
However, acrylic is a type of plastic. It’s softer than most sink materials, which means it scratches easily. And once scratched, it traps dirt and starts to look dull.
Avoid scrubbing powders, rubbing alcohol, and strong solvents that can strip the finish. Do not use very hot or boiling water either, since the material can warp or crack when exposed to extreme heat.
To clean an acrylic kitchen sink, spray it with warm, soapy water or apply a few drops of dish soap straight onto the wet surface. Use a soft cloth to scrub off any buildup.
Baking soda is generally safe as well, although it’s best for spot cleaning rather than the entire surface.
How to clean a copper kitchen sink
| What to use | Warm, soapy water OR a specialised copper cleaner |
Copper sinks have a living finish — a patina that develops over time and is part of their appeal!
The goal is to clean the surface without stripping the patina. To preserve it, avoid acidic cleaners (no vinegar or lemon juice), alcohol, and other harsh cleaners, as they can wear away the finish and expose the raw metal underneath.
Don’t panic if you accidentally damage the finish, though.
Copper naturally tarnishes again, so any bright spots will darken and blend back into the surrounding patina over the next few weeks.
For deep cleans, stick to mild cleaning solutions and scrub carefully with a non-scratch sponge. A runny baking soda paste can also help for occasional spot treatments.
And remember that copper is naturally antibacterial, so it usually doesn’t require a separate disinfecting step.
How to Clean the Tap and Fixtures
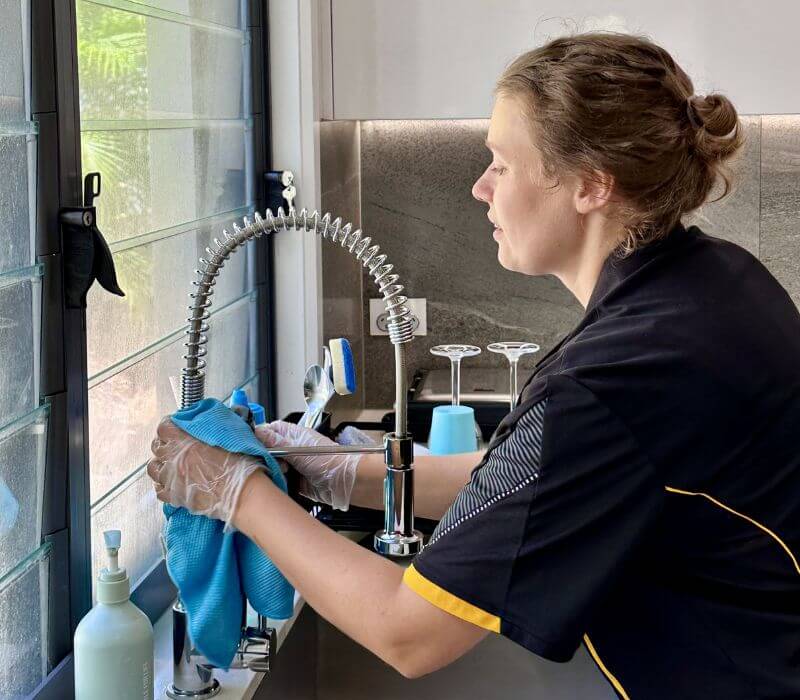
Don’t forget the tap and other fixtures — they collect grime and splashes just as much as the sink!
For regular cleaning, mix water and a few drops of dish soap in a spray bottle. Apply it generously onto the surface. Use an old toothbrush to scrub around the base, handles, and any hard-to-reach crevices.
For limescale and hard water deposits, a vinegar solution can be effective, but check the finish first.
If you have chrome or stainless steel tapware, a 1:3 vinegar and warm water solution is usually safe.
However, acids can discolour matte black, brass, brushed nickel, and gold finishes, so it’s best to stick with a dish soap solution for those materials.
For stubborn buildup on the tap head, you can use the same cleaning technique for shower heads.
Fill a small plastic bag with 1:1 white vinegar and warm water — this is safe for chrome or stainless steel. Place the tap head inside so the nozzles are submerged, and secure it with a few rubber bands. Leave it for no more than 10 minutes before scrubbing.
If your tap has a delicate finish, dip an old toothbrush or any soft brush into diluted vinegar and clean only the nozzle.
Once you’re done, run hot water for a few seconds to flush out any loosened debris. Rinse away any residue on the sink, and dry everything with a soft cloth.
How to Clean the Kitchen Sink Drain
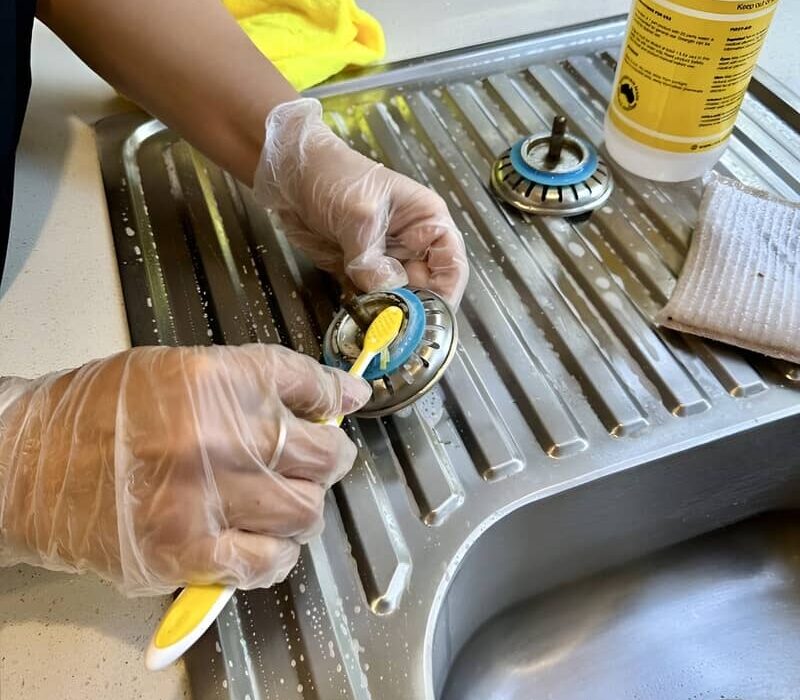
Any residue from food or grease can build up around the drain, which may lead to clogs or nasty smells if neglected!
Start by removing any strainer or stopper.
Shake out any trapped food scraps, then soak the strainer in warm, soapy water for about 10 minutes. Scrub it with an old toothbrush and rinse all soap residue thoroughly.
Next, pour hot water with some vinegar down the drain. The heat can help dissolve grease residue, while the vinegar helps tackle odours.
Avoid using boiling water, especially if you have PVC or plastic pipes under the sink.
Wait a few minutes, then use an old toothbrush dipped in warm, soapy water to clean around the drain opening. Make sure to scrub any hard-to-reach crevices, too.
Finally, rinse the area and wipe everything dry.
NOTE: Avoid pouring baking soda and vinegar down the drain at the same time! They’ll neutralise each other when combined, which makes them less effective.
How to Disinfect a Kitchen Sink and Drain
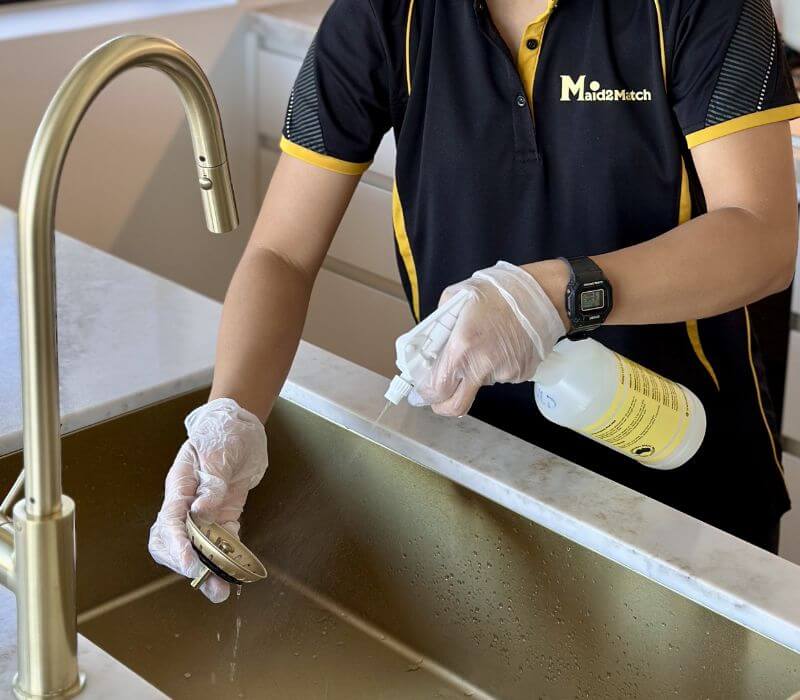
It’s a good idea to sanitise the sink whenever you’ve handled raw meat, poultry, or fish. Otherwise, bacteria like salmonella can linger and spread to other surfaces.
Before applying any product, wash the basin with warm, soapy water. Disinfectants work best on a clean surface.
Here’s what you can use to disinfect your sink:
| KITCHEN SINK MATERIAL | HOW TO DISINFECT |
| Stainless steel, ceramic, fireclay, porcelain, cast iron | Spray with 70% isopropyl alcohol. Let it sit for at least 1 minute, then wipe clean. |
| Granite or quartz composite | Use a pH-neutral disinfectant. Follow the label instructions. |
| Acrylic | Avoid alcohol. Instead, apply 3% hydrogen peroxide. Leave for 5 minutes, then rinse and dry. |
If you have a copper sink, you don’t usually need any additional treatment since it naturally fights off bacteria. Regular washing is often enough to keep it hygienic.
To disinfect the drain, carefully pour a cup of 3% hydrogen peroxide into the opening. Leave it for a few minutes before flushing with water.
Be sure to rinse away any residue left on the sink itself. Hydrogen peroxide can cause pitting on stainless steel or discolour granite or quartz composite sinks if left too long.
Also, hydrogen peroxide can degrade rubber seals over time, so only use it when needed.
Removing Stains from a Kitchen Sink
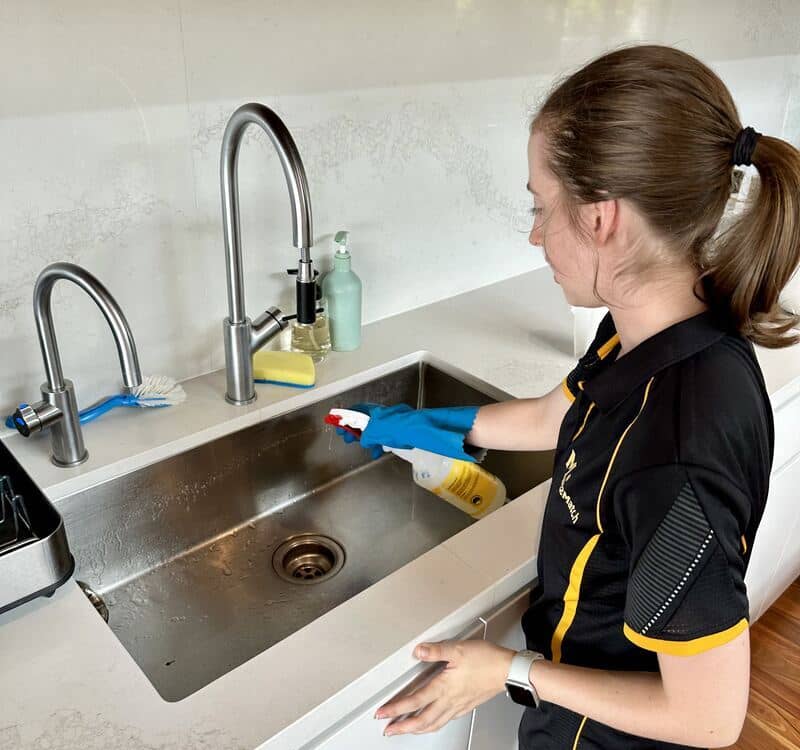
Even with regular cleaning, stubborn marks can build up over time. The key is using a cleaner suited to the type of stain you’re dealing with.
Whenever you’re unsure, test the product on a small, inconspicuous area first!
Baking soda
Baking soda isn’t just a great all-over cleaner for kitchen sinks. You can also use it to tackle stubborn stains.
A thick paste made from 1:1 baking soda and dish soap can break down dried or hardened food residue, grease, and everyday grime.
Apply it directly to the affected area. Leave it for about 10 minutes before scrubbing gently.
Wipe away any remaining baking soda with a damp cloth, then dry the entire sink.
White vinegar
If your kitchen sink looks cloudy, hard water minerals (like limescale) or soap buildup may be to blame.
A diluted white vinegar solution (around 1:3 vinegar and water) can help remove those mineral deposits.
Spray it onto the affected area and leave it for about 5 minutes. Avoid letting it sit for too long, as it can sometimes etch or discolour the finish.
Scrub gently, then rinse and dry.
Hydrogen peroxide
A 3% hydrogen peroxide solution can effectively lift stains from tea, coffee, wine, or other coloured foods.
You can use it on its own or mix 1 part peroxide with 2 parts baking soda for extra cleaning power.
Apply it directly to the stain. Let it sit for about 5 minutes, then rinse any residue with a damp cloth.
Oxalic acid cleaners
Oxalic acid cleaners, such as Bar Keepers Friend, can tackle tough marks caused by rust, soap scum, limescale, and set-in residue.
They’re usually safe on stainless steel and ceramic sinks. However, avoid using them on acrylic, copper, or granite and quartz composite surfaces. The acidity can dull or damage the finish.
Always follow the directions on the packaging, and don’t leave the product on the surface for longer than recommended. Rinse thoroughly afterwards.
How to Unblock a Kitchen Sink Drain
Dealing with a blocked kitchen sink? For minor clogs, slowly pour hot water with a little vinegar down the drain, pausing every so often to let the water loosen any buildup.
After a few minutes, check if the water is draining freely.
Another option is an enzyme-based drain cleaner. It helps break down organic matter like food scraps. Be sure to follow the instructions on the label.
For more stubborn clogs, you can use a sink plunger.
Place the plunger over the drain, then fill the sink with enough water to cover the plunger cup. Press down slowly so you don’t push the blockage down, then quickly pull the plunger back up.
For a deeper clog, you can use a drain snake to pull out or break up whatever’s stuck in the pipe. Afterwards, flush the drain with hot water to wash away any remaining debris.
If none of these methods work, the problem is likely deeper in the pipework. In that case, it’s usually best to call a plumber rather than rely on chemical drain cleaners, which can damage pipes and seals over time.
Tips to Keep Your Kitchen Sink and Drain Clean
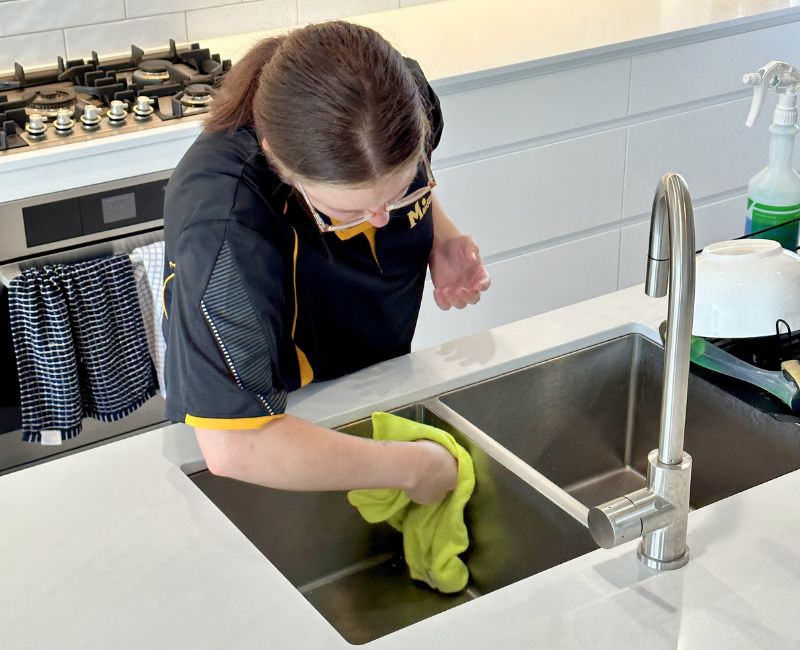
Alongside regular maintenance, a few habits can help keep your kitchen sink looking and smelling fresh!
One of the best things you can do is avoid leaving dirty dishes or standing water sitting in the sink for too long. This can lead to tough stains like limescale and grease.
As much as possible, keep food scraps out of the drain. Scrape plates into the bin, or use a sink strainer to catch debris.
Avoid pouring grease and oil down the drain too, as they can solidify and clog the pipes. Instead, let any used oil cool to room temperature and transfer it to a disposable container. Throw it away once it’s full.
Whenever you wash greasy pots and pans, run some hot water down the sink to help clear any leftover residue.
After washing up, avoid leaving wet sponges or dishcloths in the sink. They can hold bacteria, create unpleasant odours, and leave marks on the surface.
FAQs About Kitchen Sink Maintenance
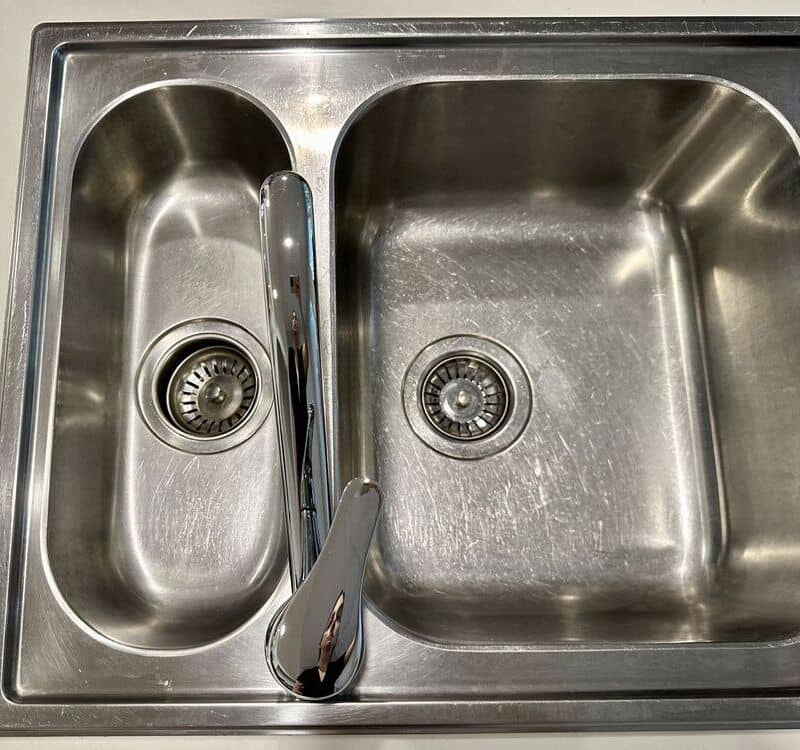
A clean sink doesn’t just look better — it’s also more hygienic! Find more kitchen sink cleaning tips below.
Can you use a Magic Eraser on a kitchen sink?
Yes, but use it sparingly and avoid it on acrylic, copper, and granite or quartz composite sinks.
Magic Erasers (or melamine sponges) are mildly abrasive, which means they can dull or scratch some materials over time. They’re best used for occasional spot cleaning rather than as part of your daily routine.
Before you start, dampen both the sink and the eraser to reduce friction. Then test the eraser on a small, inconspicuous area.
Once you confirm it’s safe, you can use it to remove stubborn marks on your sink. Wipe away any residue as you work, then rinse thoroughly when you’re finished.
How to clean a white kitchen sink
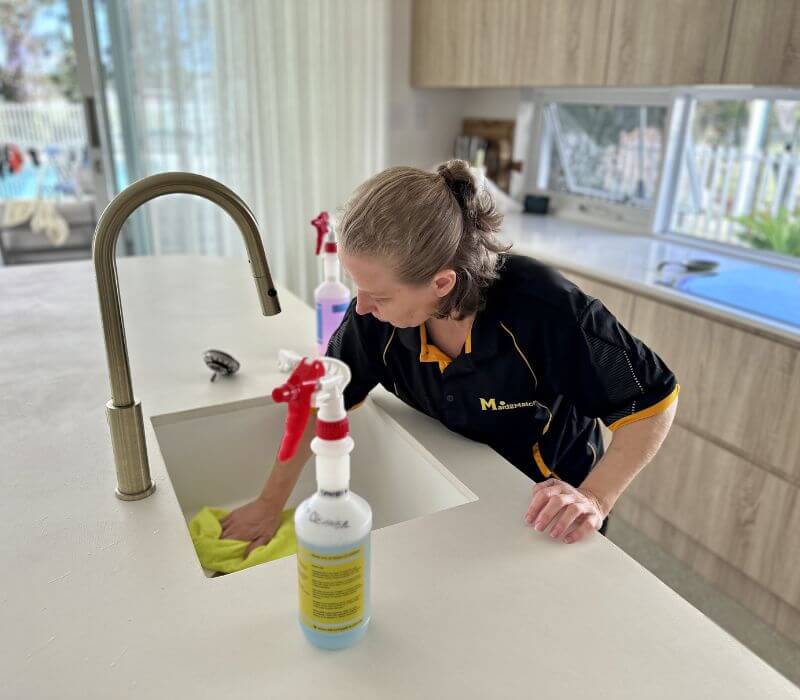
White kitchen sinks look stunning, but they tend to show stains easily. The best cleaning approach depends on what your white sink is made of.
For fireclay, ceramic, or porcelain-enamelled white sinks, use a paste of 2:1 baking soda and 3% hydrogen peroxide. Apply it onto the mark, wait for 5–10 minutes, then scrub with an old toothbrush.
A damp Magic Eraser can also lift discolourations — just don’t rub too aggressively.
For granite or quartz composite white sinks, avoid using a Magic Eraser. Instead, use a 3% hydrogen peroxide spray. Leave it on the stain for about 5 minutes, then scrub gently.
How to clean a smelly kitchen sink
If your kitchen sink smells bad, it’s usually a sign that food residue, grease, or bacteria have built up somewhere in the sink or drain.
Start by cleaning the entire sink surface.
Next, remove any strainers and stoppers, and give them a good soak and scrub. Flush the drain with hot water and a little vinegar to help clear buildup and tackle lingering odours.
If the smell doesn’t go away, the problem may be deeper in the pipes. In that case, it’s best to have a plumber take a look!
How do you remove scratches from a kitchen sink?
For stainless steel, a specialised stainless steel polisher can work on light scratches. Follow the manufacturer’s instructions and always buff with the grain.
For acrylic sinks, you can use a plastic-safe or acrylic-safe polish.
For fireclay or porcelain sinks, most grey lines aren’t actually scratches but marks left behind by metal cookware. You can spot clean them with a 2:1 paste of baking soda and hydrogen peroxide.
If you’re dealing with deep scratches or chips, it’s best to leave those to a professional. Trying to sand or polish the sink yourself can permanently damage the finish.
