
Wall panelling is nifty and fabulous, and we are big fans. It’s the darling of any well-designed home, and architecture’s poster child for ‘form-meets-function’.
If you want the rooms in your house to look luxurious on the fly, read on to learn our awesome wall panelling ideas.
What is wall panelling?
Wall panelling is the interior design method of installing wood panels on the walls of your home. Decorative wall panels can instantly enhance your interiors and take your property value up a notch.
Wall panelling styles range from straight vertical boards to more intricate woodwork. There’s something for everyone.
Other than its appeal for design purposes, wall panelling is also a great choice for extremely practical reasons. Wall panels have a knack for transforming a stone (cold) room into a cosy space.
Your living room walls will instantly feel like a warm hug after you install interior wall panelling on them.
Wall panels also add a layer of protection to thin walls. When your wall is fortified with cladding, you can rest assured that it won’t damage easily – even if you have energetic kids playing about.
Top 10 wall panelling ideas
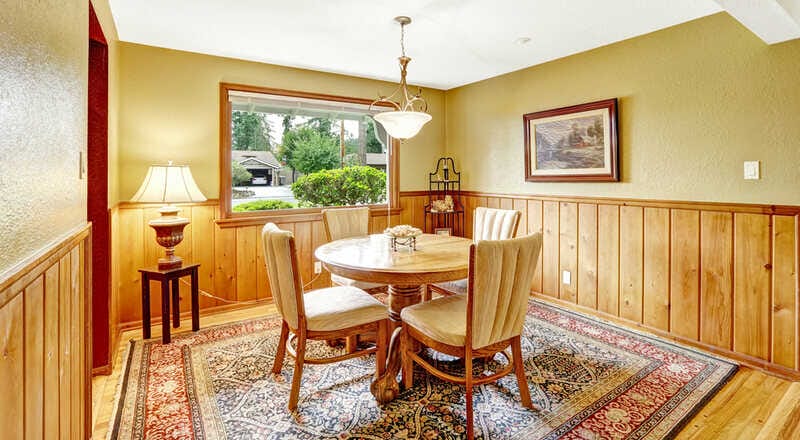
1. Blast from the past
Wall panelling is one of the hottest trends in interior design right now, but did you know that it has been around for centuries? You’ll find stately homes with timber wall panels dating all the way back to the 1400’s.
If your home has more of a classic or traditional architecture, using a timber wall panelling idea from any of the eras below is a good place to start. Here are some famous period designs you can take inspiration from:
Linenfold wall panelling
If you think a wood carving of folded linen is a bit of an acquired taste, you’re not alone. This centuries-old design was once hailed as an architectural crowd favourite among European aristocrats, but started to go out of fashion during the 16th century.
Fast forward to present times, and we see linenfold wall panels starting to make a comeback in interior design circles. Modern woodworkers are refining what was once quintessentially Gothic and giving the folded linen look a cleaner, more elegant finish.
Modern homeowners are looking to linenfold wall panels to add texture to otherwise flat and plain walls. If you want to add a touch of history and regal character to your home, the old-school look of linenfold wall panelling is the suitable design for you.
Tudor-style wall panelling
Tudor-style wall panelling is for homeowners who love symmetry, precision, and repetition. If you’re a person who finds comfort in predictability, you’ll find this wall panelling design right up your alley.
Characterised by small squares or rectangles, Tudor-style wall panels showcase geometrical woodwork at its best. In spite of its repetitive design, this type of wall panelling has the potential to make any room look grand.
Place these wall panels in your living room to provide an interesting contrast against a stone fireplace. Other spots in your home that would benefit greatly from Tudor-style wall panelling are the library and office.
Georgian wall panelling
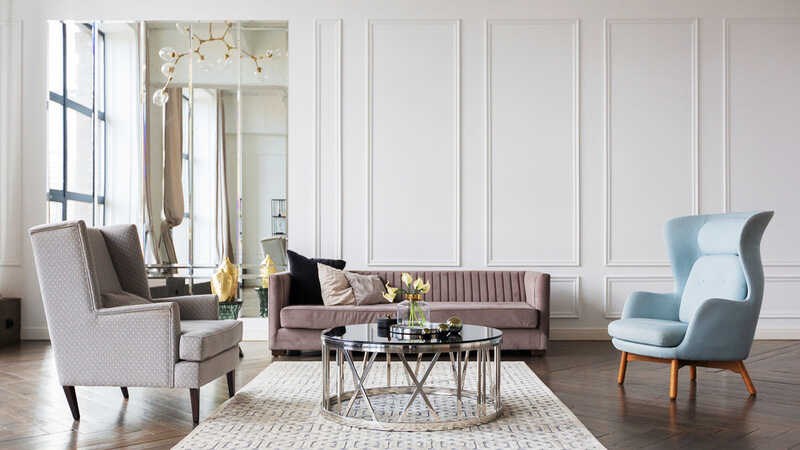
If Tudor-style wall panelling is simple, the Georgian design is even more spartan.
Georgian wall panelling is more common than we think. A lot of modern homes actually use this type of panelling because of its clean lines and classic-looking panels. Relative to other interior timber wall panel styles, Georgian wall panelling is easy to pair with any home design.
Georgian wall panelling sparked an interest in dado-level panelling, where the lower part of a wall is designed differently from its top portion. For homeowners who are new to trying out wall panels in their home, Georgian wall panelling design is a smart and attractive enough option.
Styling tip: Timber wall cladding may get you a royal nod of approval, but it can feel overwhelming when not done right. To make your timber wall panels look more William than Henry, try wainscoting your oak panels at ⅓ to ⅔ of the room height. Opt for a natural wood colour instead of darker shades. This will bring the design of your wood wall panelling into the 21st century, while still retaining that old world charm and mystique.
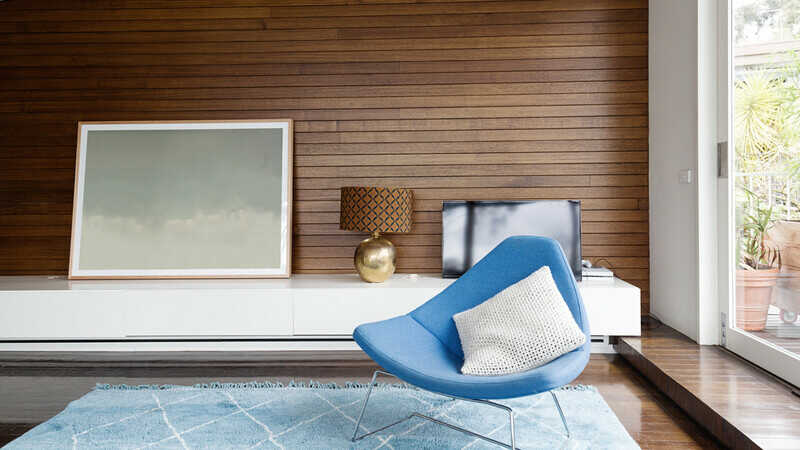
2. Seas the day
Want to replicate the relaxed vibe of Queenslander houses in your own home? The fastest way to achieve this is by installing VJ panelling on the walls of your interiors. VJ boards are ‘vertical joint’ boards that are patched together using the tongue and groove method.
VJ panelling will give plain flat walls a cosy, textured look. Paint your walls in off-white or eggshell for that breezy, casual vibe Queenslanders are known for.
3. The perks of being wallpapered
Your home won’t look like a wallflower when you combine wainscoting with a wallpapered wall. Add the woodwork on the lower portion of your wall to provide a solid colour base to your wallpaper design.
Styling tip: To pull it off, choose wallpaper with smaller prints. Paint the wood panels in the same colour as the wallpaper to give your walls an interesting look without being overwhelming.
4. Optical illusion
Create the illusion of a bigger (or smaller) space with wall panels. How to do this? First, you have to consider the size of the area where you want to install wall panelling. The next thing you need to do is consider how you would like the room to look. Do you want to make the space look more expansive, or do you want to have a nook vibe going on? These considerations will help you determine what type of wall panels to go for.
As a general rule of thumb, you can follow the ‘like goes with like’ principle. This means that bigger wall panels are better suited for bigger spaces, while smaller wall panels complement smaller spaces.
VJ boards
VJ boards are a good idea when you want to create the illusion of height. The vertical panels compel the eye to move upward and make the walls seem taller.
Shiplap
For a panoramic look, shiplap is the wall panelling to go for. These boards are arranged horizontally and create a look similar to the exterior walls of a ship. A special cut is used for a seamless and waterproof wall panelling. Use shiplap panels in bigger spaces, as the horizontal striped look can make a smaller room feel cramped.
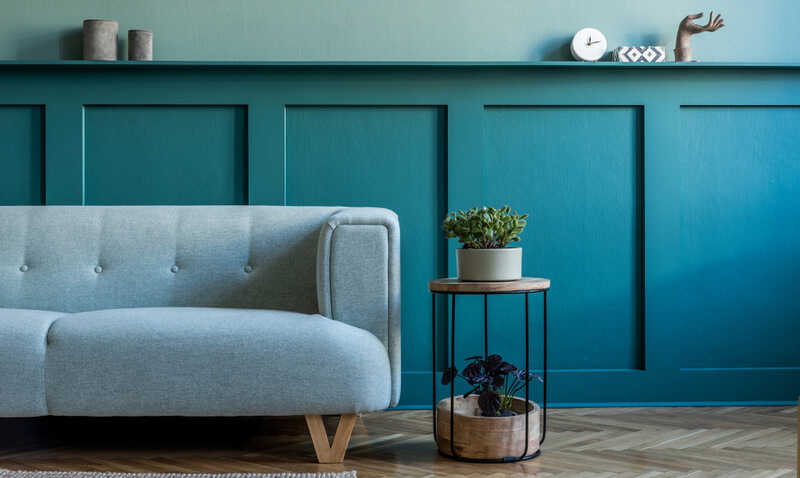
5. Built for hue
Neutral shades are always a safe choice, but who says you can’t go for a unique look in your home? Go for a dramatic effect by painting your wall panels in a rich colour. Aubergine or teal will look great in a living room or bedroom, while lemon yellow, baby pink, or sea green are beautiful choices for a kid’s room. It’s really up to you and the look you’re going for.
Of course, a classic look will never go out of style. The ubiquitous white you see in Queenslander and Hamptons homes is a staple colour, and one you can’t go wrong with.
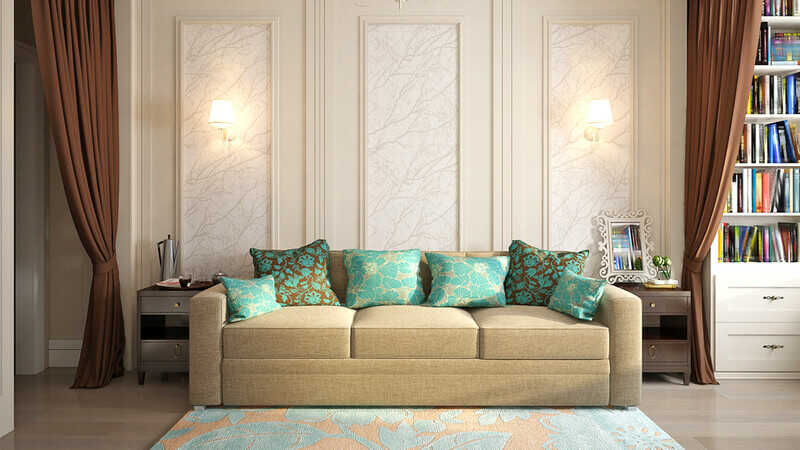
6. The touchy-feely sort
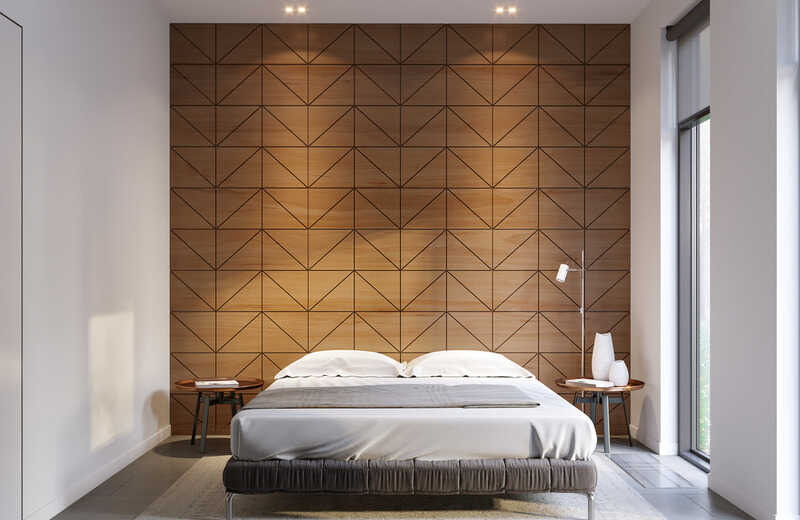
Colour is not the only element you can play with. Decorative wall panels are a creative way to add dimension to an otherwise boring space. Convert one of the walls in your living room, dining room, or bedroom into an accent wall by installing wall panels with intricately carved woodwork. For a more elegant appearance, paint the wall panels in the same colour as your wall paint. Complete the sophisticated look with ambient LED lighting and spotlights.
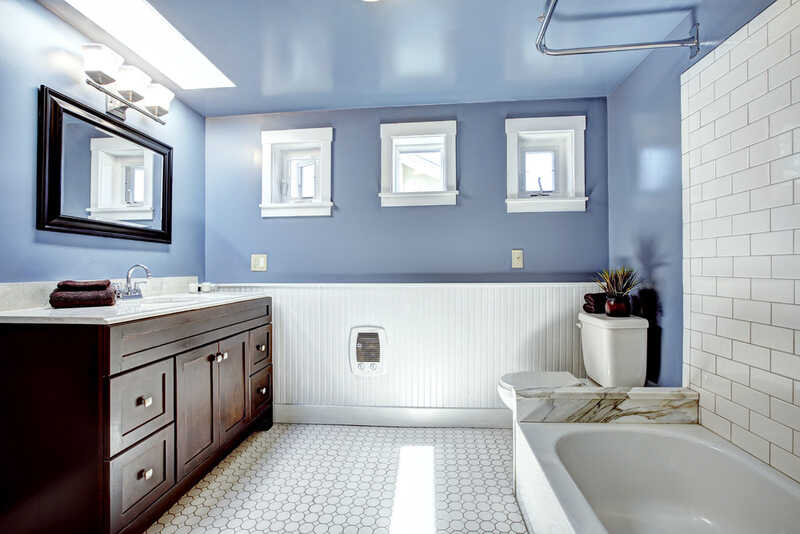
7. Tile not found
Tired of the same old tilework in your bathroom and laundry area? Internal wall cladding made of shiplap is perfect for these wet spaces in your home. Shiplap wall cladding is waterproof and durable – ideal for areas that are frequently exposed to moisture.
Styling tip: Take advantage of shiplap’s horizontal layout and go for a nautical theme when decorating your bathroom or laundry area. Paint your boards in a cool colour, such as sky blue, white, or light gray. Add ocean-inspired decor such as an anchor wall hanging, wicker baskets, and blue-green towels.
8. True to farm
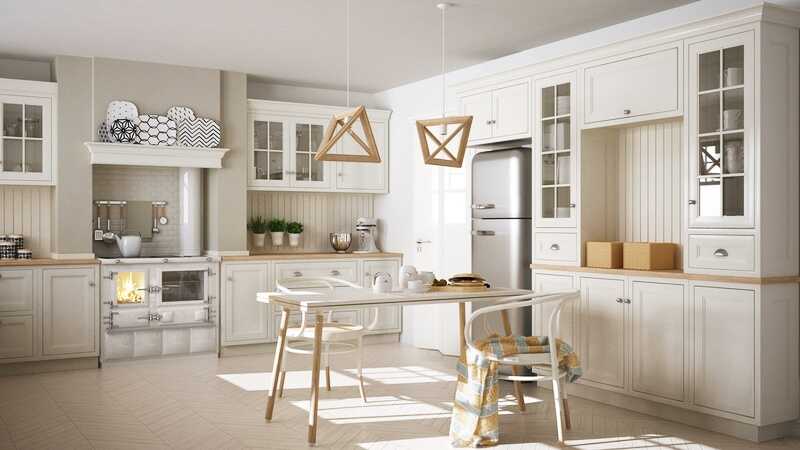
Another place in your home where you can use wall panelling is in your kitchen. With this in mind, what better style to go for than the modern farmhouse kitchen?
This design calls for large farmhouse sinks, black iron shelves, a wooden barn door, and beautiful VJ walls. Go a step further and paint your wall cladding in white for a minimalist farmhouse look.
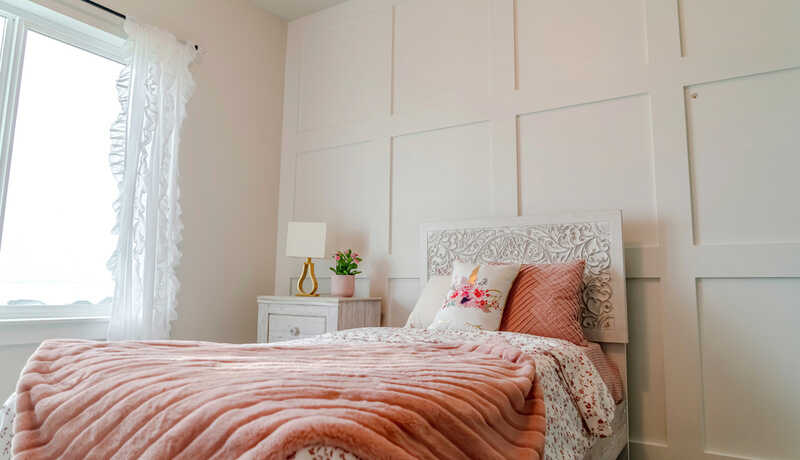
9. Bed head(board)
To say that wall panels are versatile is an understatement. You can use them in different rooms in your home, and convert them into pieces of furniture, such as a headboard for your bed.
Simply install VJ boards on the wall where you’ll position the bed, and paint the wall lining a bold colour for contrast. It’s a no-frills way to beautify your bedroom in an instant.
10. Once more, with ceiling
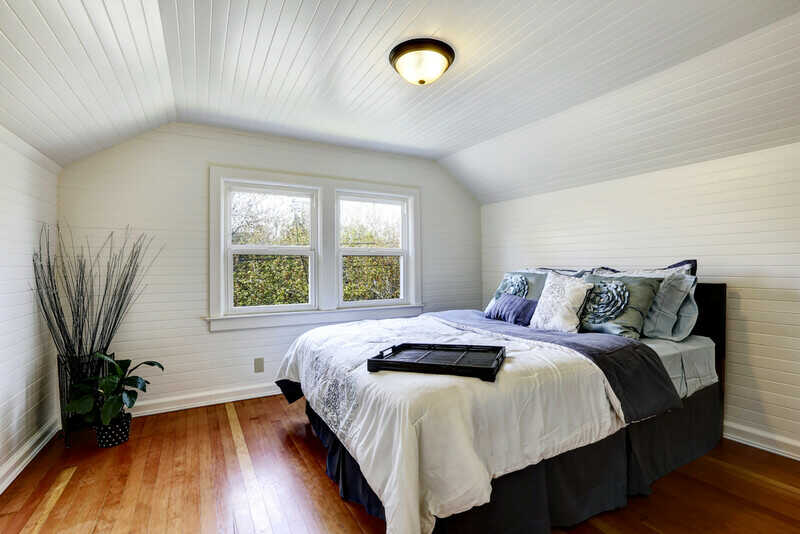
We’ve described how you can use wooden panels on your bathroom, kitchen, bedroom, and living room walls. For our last panelling tip, how about using VJ boards as a protective and decorative layer for your ceiling?
Installing VJ boards on the ceiling can give subtle texture to an expansive living space. You can opt for a natural wooden finish for your boards, or go for white paint to make the space feel cosy and airy.
Styling tip: Adding VJ panelling on your ceiling works best on homes with high ceilings. Remember to use lightweight wall panels, as heavier ones can fall off over time due to gravity.
FAQs
What are the different materials used for wall panelling?
There are different types of wood used for interior wall cladding. These are the most popular:
- Wood or timber
- Reclaimed wood
- MDF
Is MDF panelling better than real wood panelling?
It’s really up to your needs and lifestyle. If you have a tight budget for this project, MDF panels are the right choice for you. MDF panelling is less dense than real wood, and in effect, less expensive (around $45 per sq/m). It is also lightweight and easy to fit, which makes it a favourite material to work with among DIYers.
A common concern about MDF panels is the adhesive used for installation. Urea formaldehyde, a known carcinogen, is one of the components used in MDF adhesives. The fumes of this chemical are considered harmful to human health and the environment.
If budget is not a problem for you, authentic wood panelling is a good choice in terms of durability. But because of the hefty price tag ($550 per sq/m), you’ll want to hire an experienced wall panelling specialist to ensure a high quality installation.
Another point to remember is the flexibility in design. With timber wall panels, you’re paying for a good piece of solid wood. You’ll want to enhance the wood grain of your panels, not cover them. That said, it’s better to use varnish on real wood cladding instead of paint. If you’re excited about decorating your walls with coloured wall panels, it’s advisable to go with MDF boards instead.
What are the things I need to consider when using reclaimed wood for wall panelling?
If you’re looking to boost the character of your home, reclaimed wood is a good material to use. The antiquated element in reclaimed wood makes for an interesting story to tell. It also brings with it an air of history that will be a challenge to replicate with newly bought furniture and wood panels.
When considering reclaimed wood as the material of choice for your wall panelling, there are 3 things you need to think through before purchasing:
- The first thing you need to think about is your budget. Reclaimed wood can be pretty pricey. A square meter of reclaimed wood can set you back a hundred dollars or so depending on the store you’re buying from.
- Another element to think about is the style of your home. You’ll want your reclaimed wood panels to blend beautifully with the interiors of your home, not clash with. Reclaimed wood works best in classic and traditional-style homes. If your interiors are more minimalist in design, you may want to refrain from cladding the whole wall with reclaimed wood panels. Limit the wood to a focal point in your home, such as the doorway in your living area or the headboard in your bedroom.
- The last thing you’ll want to consider is the durability of the wood. Reclaimed wood is not as sturdy as newly cut timber. Place the reclaimed wood panels in an area of your home that’s not frequently disturbed or used to lessen the risk of wear-and-tear.
Should I DIY or hire a professional?
Installing MDF panels on walls is a fun project to do if you’re experienced with DIY carpentry. The challenges you’ll likely encounter are working around elements such as doors, windows, and electrical sockets, but other than that, it can be done without a specialist’s help.
You’ll need to hire a professional installer, however, when working with timber wall cladding to ensure that the pieces are fitted correctly. Installing boards on your ceiling may also require you to call in specialists for safety purposes.
Any other tips for a successful wall panel installation?
After years of working with homeowners who have wall panelling in their home interiors, we’ve compiled the top 3 tips you’ll need for a successful wall panel installation:
1. Do your research.
Before purchasing and installing wall panels, it’s important that you have read up on the subject. You’ll want to study what panel design and material is suitable for your home, and if it’s well within your budget. It’s also helpful to watch videos on proper wall panelling installation so that you’ll be ready when it’s time for you to do it at home.
2. Prepare your plan.
Installing wall panels requires an ample amount of preparation. Draft a plan on how you’re going to install the panels on your walls, and indicate the exact measurements. This way, there are no lopsided panels. You’ll also ensure that your layout looks symmetrical and balanced.
3. Clean your walls before installing the panels.
Don’t forget to prep the walls before installing the wall panels. Aside from sanding the surface, a thorough wall cleaning will help remove dirt and debris that may obstruct the cladding from sticking properly.
If you’re worried that cleaning all of the walls in your home may be too time-consuming, you may want to consider hiring a professional cleaning service. Not only is it convenient, but you’ll also be assured that the rest of your home interior will receive a thorough cleaning prior to the wall panel installation.